How to Create a Vulnerable VM
Idea
The first thing we need to be clear about is what we want to teach with our machine. It could range from a program we intentionally make vulnerable with SQL Injection for practice, to an exploit we saw online that we want people to use.
We should define the following:
-
Which vulnerability will provide the initial access to the machine (SQLi, RCE, LFI, etc.).
-
How many users the machine will have.
-
How horizontal privilege escalation will occur between users (if there is more than one and it is necessary).
-
How the attacker will escalate to root.
Once everything is clear, we should implement it by installing the OS, configuring everything necessary for the intended attack path, and finally deleting our .bash_history or any OS files we modified that should be removed.
Creating a VM (Example)
Idea
For this example we will create a simple machine with the following attack path:
We will create a web application in Golang that is vulnerable to LFI (Local File Inclusion).
Through the LFI, the attacker will be able to view the /etc/passwd file and discover system users.
They will then bruteforce SSH on the discovered user to obtain the password. Once logged in, they will escalate to root using sudo (watch).
- Initial access is obtained by bruteforcing SSH to the user discovered through LFI.
- The machine will have only 1 user (noob).
- Root escalation will be done using sudo.
Note
We recommend that the bruteforce takes a maximum of 5 mins.
Install OS
To create our example machine we will use Virtualbox and Debian13.
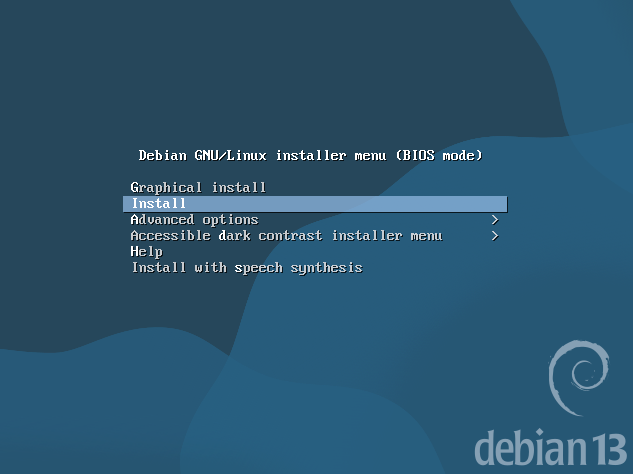
Create a new machine in VirtualBox, select the Debian 13 ISO, and start the installation.
It is a typical installation.
During installation, choose "Install" instead of the graphical installation.
Follow the steps such as setting the root password, creating a user (noob), etc.
For the noob user we used a weak password that appears at the beginning of rockyou.txt, since we want it to be discovered through brute force.
At one point during installation you will be asked to choose packages. In this case we will NOT install a graphical environment and we will select SSH.
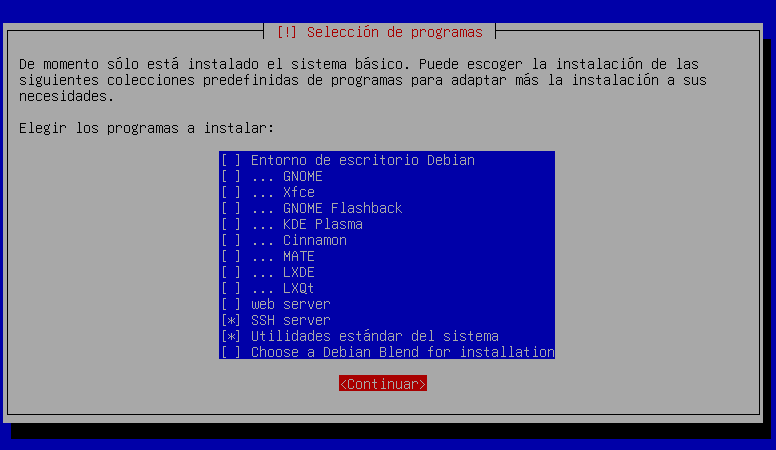
Note
It is recommended not to use a graphical environment.
Install Dependencies
Once the OS installation is finished, update the system.
root@hmvdocz:/home/noob# apt update && apt upgrade
Obj:1 http://deb.debian.org/debian trixie InRelease
Obj:2 http://deb.debian.org/debian trixie-updates InRelease
Obj:3 http://security.debian.org/debian-security trixie-security InRelease
All packages are up to date.
Summary:
  Upgrading: 0, Installing: 0, Removing: 0, Not Upgrading: 0
After updating, install the dependencies needed to create the vulnerabilities.
In this example we need sudo and golang.
Create Users
If you only need one user, you can create it during OS installation.
If you need more users, now is the time to create them.
Prepare Vulnerabilities
In this example we will use Golang to create the LFI vulnerability. It could be Python or any other language — the important part is that this step is where you implement all vulnerabilities in your machine.
LFI
As the user noob, perform the following steps:
- Create the file
/home/noob/lfi.go
package main

import (
    "fmt"
    "io/ioutil"
    "net/http"
)

func home(w http.ResponseWriter, r *http.Request) {
    fmt.Fprintf(w, "LFI\n\n in /read?file=.....")
}

func readFile(w http.ResponseWriter, r *http.Request) {
    file := r.URL.Query().Get("file")

    data, err := ioutil.ReadFile(file)
    if err != nil {
        fmt.Fprintf(w, "Error.")
        return
    }

    fmt.Fprintf(w, "<pre>%s</pre>", data)
}

func main() {
    http.HandleFunc("/", home)
    http.HandleFunc("/read", readFile)

    fmt.Println("Listening http://localhost:9090")
    http.ListenAndServe(":9090", nil)
}
-
Compile it
-
Configure crontab to run it when the machine starts
With this we have our first vulnerability, which allows an attacker to read /etc/passwd via LFI and discover that the user noob exists.
SUDO
For root privilege escalation we will use sudo, allowing the user noob to run the watch command as root.
As root, run:
Add the following line:
Create Flags
We need to create the flags user.txt and root.txt.
user.txt is usually placed in a user directory and obtained after initial access.
root.txt is usually located in /root and obtained after full system compromise.
To create the flags as root:
# Create root flag
echo "HMV{rootflag}" > /root/root.txt
chmod 700

# Create user flag
echo "HMV{userflag}" > /home/noob/user.txt
chown noob:noob /home/noob/user.txt
chmod 770 /home/noob/user.txt
Customize MOTD / IP
To show a logo and the machine IP when the system starts, we can modify the file:
Add your logo and the IP placeholder \4:
             ,,,,,,,,
           ,|||````||||
     ,,,,|||||       ||,
,|||`                 |||,
||`     ....,          `|||
||     ::::::::          |||,
||     :::::::'     ||    ``|||,
||,     :::::'               `|||
`||,                           |||
 `|||,       ||          ||    ,||
   `||                        |||`

IP address: \4
Protect GRUB (Optional)
To protect GRUB from being modified to access the system, we can add a password.
Run as root:
It will ask for a password and return a hash:
Edit the file:Add at the end:
Replace the hash with the one you generated.
Then update GRUB:
Cleanup
It is recommended to clean all command histories so they cannot be used as hints (unless that is part of the intended path).
To remove .bash_history for root and users:
Export
Once all steps are completed, export the machine to .OVA.
Right -> click the machine -> Export to OCI.
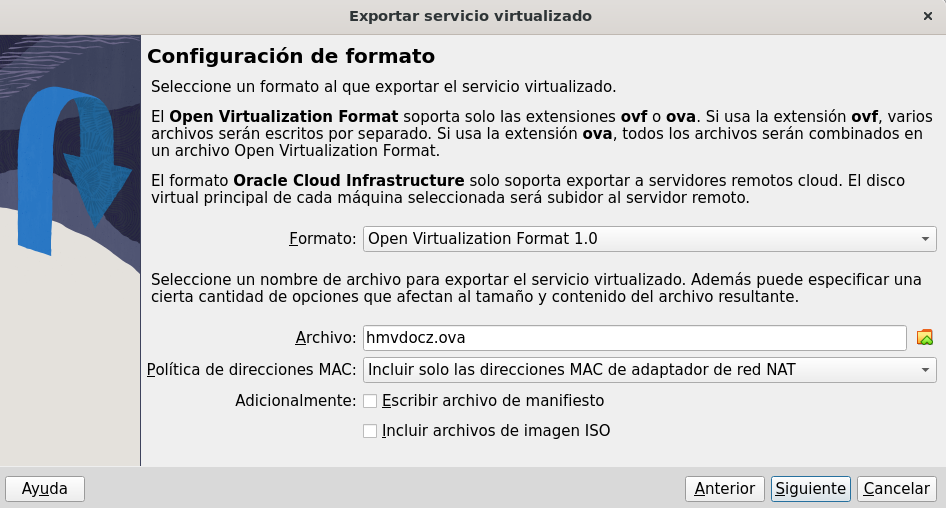
Choose where to save it and click Next.
Once exported, you will have the .OVA file, which is your exported machine.
Sharing
Once the machine is exported, you should test it and write your own write-up to verify that everything works as planned. If everything is correct, you can upload it to your preferred platform 🙂.